It is an elemental part of the way the exterior of your house looks. Being outdoors exposed to all weather conditions, they must receive constant maintenance to keep them looking great and to lift the view of your house.
For this do-it-yourself project, we’ll need very few things:
Tools:
– Water
– Soap
– Cloth
– Spatula (paint scraper)
– Brush
– 3M™ Pro Grade Precision™ Faster Sanding Sandpape
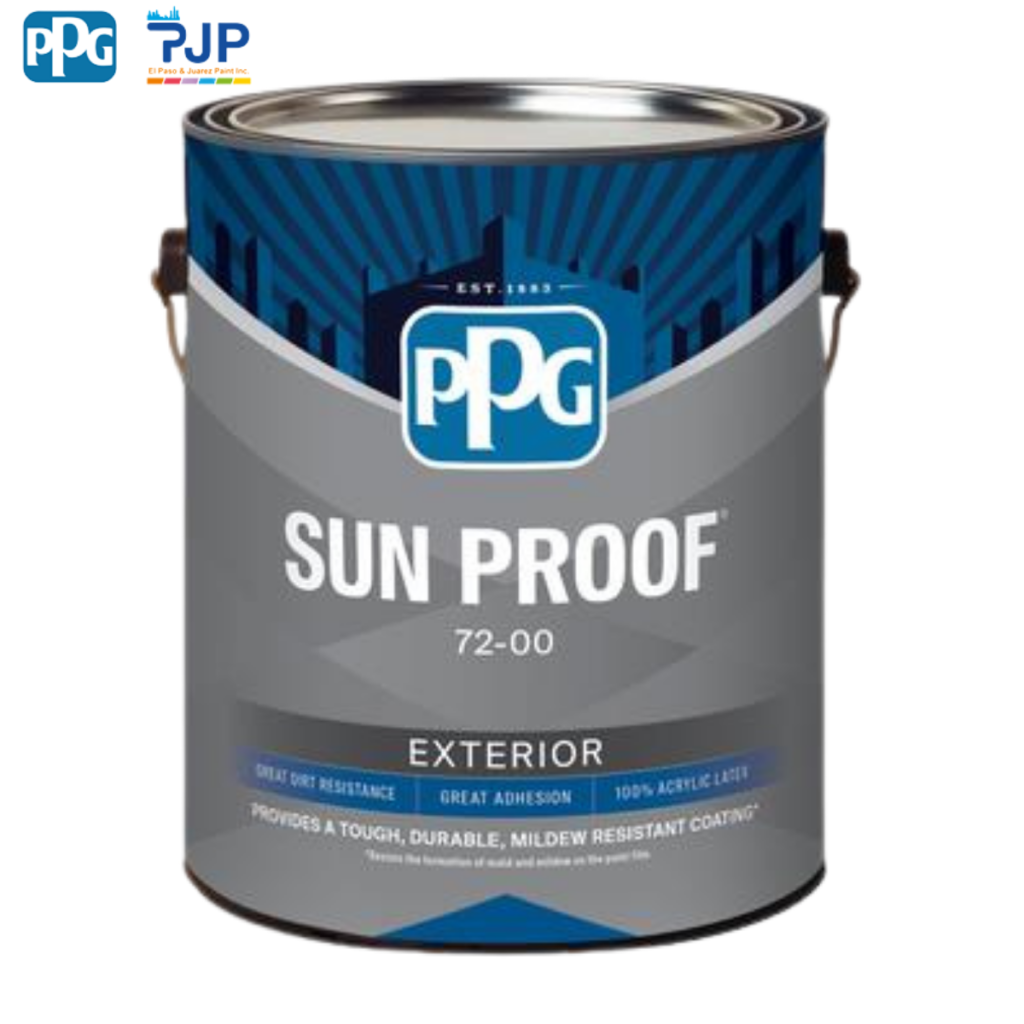
– SUN PROOF ®
– PPG™ Blue Painter’s Tape
Once you have these materials, we can get started:
Let’s get to work:
– Cover the walls near the moldings to avoid staining them with PPG™ Blue Painter’s Tape.
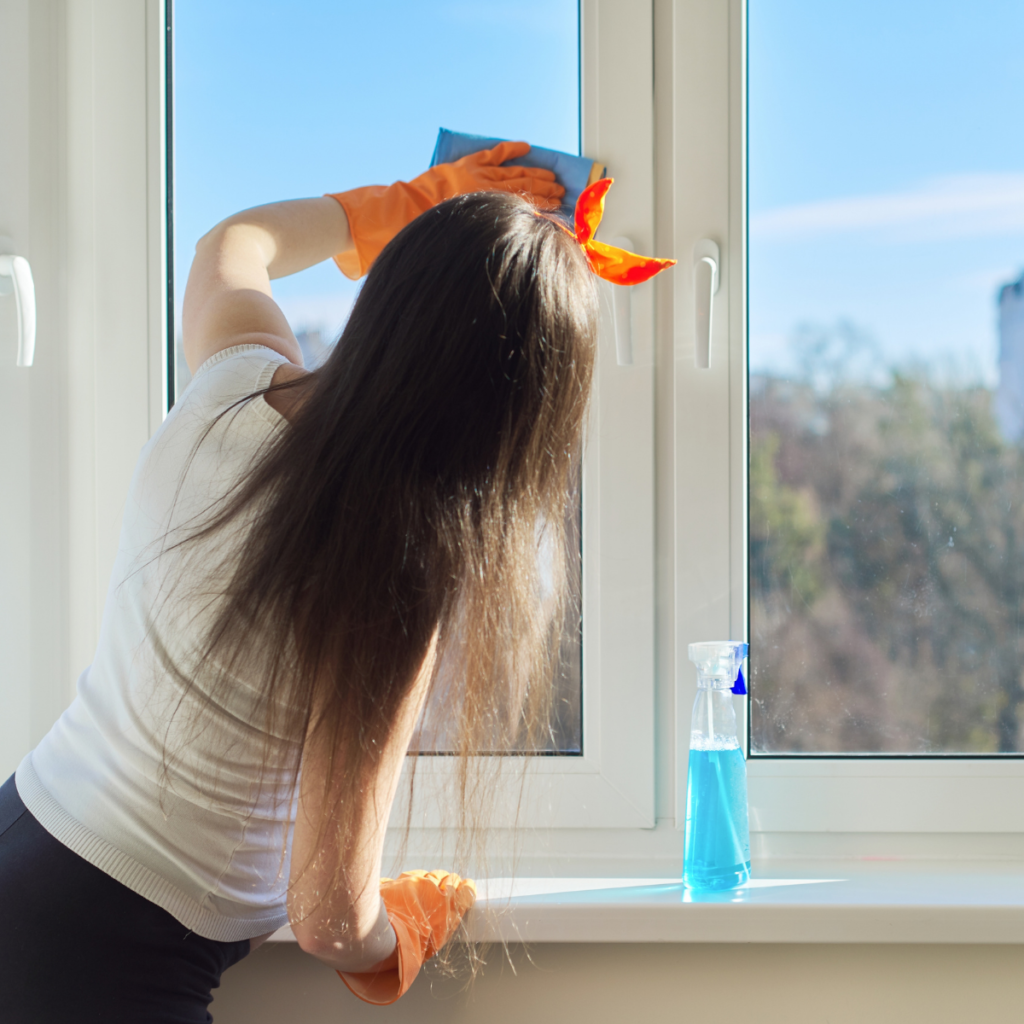
– Start by cleaning the moldings with soap and water, removing dirt caused by the exterior. Once your space is clean, start scraping with the putty knife to remove the sheen of the previous paint. Clean again and once dry proceed to sand with 3M™ Pro Grade Precision™ Faster Sanding Sandpape to open the cuticle of the wood so that the paint has a perfect adhesion.

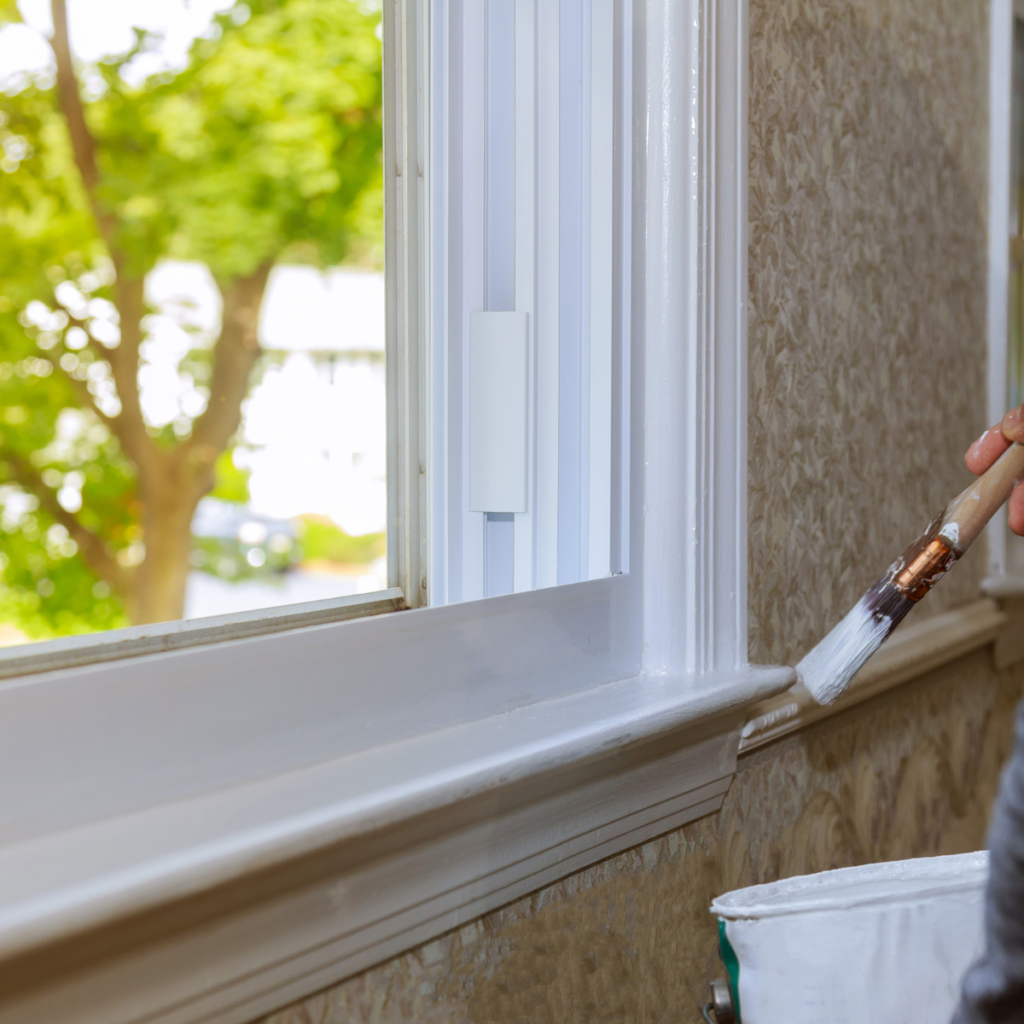
– After sanding and making sure there is no more lacquer residue on the molding, you can start painting with SUN PROOF ®.
– Start with the horizontal part (top and bottom) and then continue with the vertical part.

– Wait between coats to be able to paint the next coat.
– In case you stain the glass, you can remove the dried paint with a spatula.
PPG has an excellent option for you, SUN PROOF ® is your best choice for painting wood that are outdoors, thanks to its technology guarantees a resistant, durable and mildew resistant coating, great resistance to dirt, plus a great adhesion which helps to a longer life time.

